One of they keys to at home manicures is filing your nails. Shaping them and keeping them short enough to avoid damage. Here are 5 easy steps to filing your nails the correct way:
1) Same finger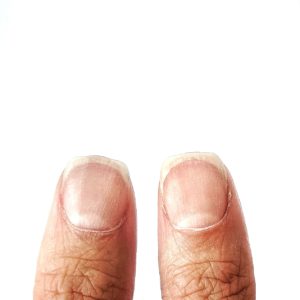
While filing your nails, either in preparation for a manicure or just to keep them shapely, always file the same finger on each hand. Start with your thumbs, and work your way to your pinky. If you have a broken (shorter) nail, make the other hand match. You don’t need all of your nails super short, but if both your ring fingers are short and the others long, it’s with purpose.
 2) Length first
File each nail length first. Go a little longer than the desired length. Don’t focus on shape, but only on length, straight across.
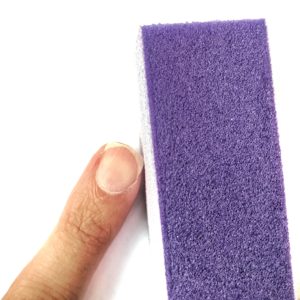
3) Buff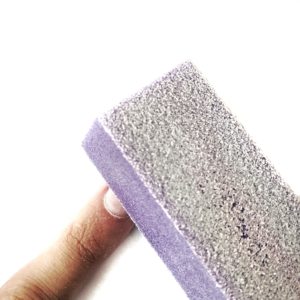
Use a buffing square. Start with a rougher edge and go across the top of your nails in every different direction. Buff any ridges or bumps off your nail until smooth. Buff again with a finer side of your buffer for maximum smoothness.
 4) Shape your nail to your cuticle
I have all different shapes of cuticles, but most are squarish. So I file my nails to a square shape. Make sure you focus on the shape of the entire nail on not just the white part. All my quicks are different weird shapes. This is why you buff before you shape so the parts of the nail aren’t so contrasted.
5) Clean
Make sure you scrape out and smooth the edges of your nails. Sometimes filing dust can get stuck up under your nails. Make sure you wash all dust off before moving on to polishing.