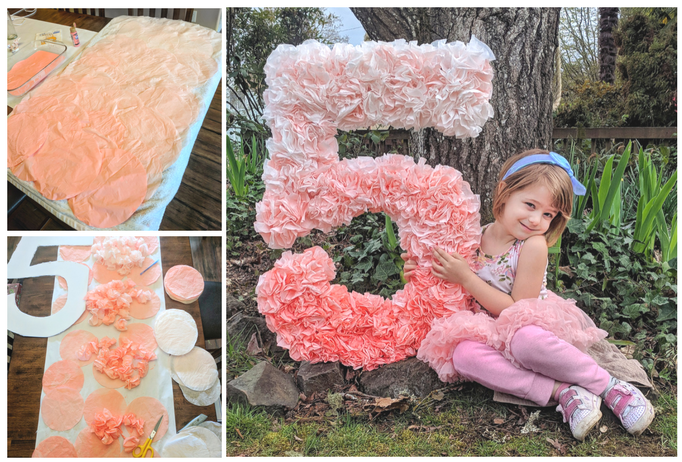
Many of you reached out and asked for a tutorial on the beautiful party decoration I made for my niece’s party. She was turning 5 (could you guess) and I really wanted to make something super fun and decorative so what better than a huge number 5 for the birthday girl! And she absolutely LOVED it! According to my sister, she carried around everywhere she went for a week haha Made me so happy 🙂 And I had a blast making it and can’t wait to make more for upcoming parties, showers, and weddings!
I finally pulled together all my photos together and spelled out each step below. It took me 2 days, due to drying time. but if you start earlier enough, you could probably do it in 1 day.
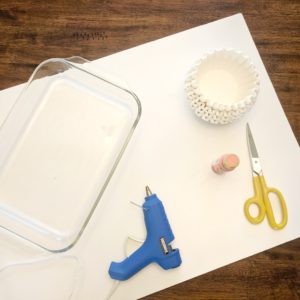 Supplies:
- 1 Poster Board or cardboard number
- Hot glue gun + extra glue
- Scissors/knife (I used scissors, but it was difficult)
- Acrylic Paint
- 300 coffee filters
- Pan or flat container
- Water
- Towel
- Pen, pencil, or stick
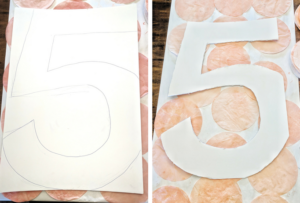
Phase 1:
1. Draw your number or letter on the cardboard and cut it out. It doesn’t have to be smooth or look nice, it will be completely covered up by the coffee filters, you just need the genera shape.
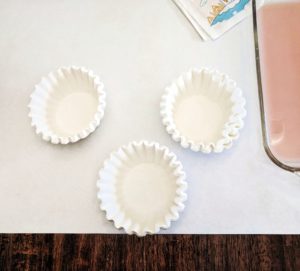
2. Separate your coffee filters into 3 sections (light, medium, dark).
3. Fill the bottom of your pan with water and put in 3 drops of acrylic paint to start, add more for desired color.
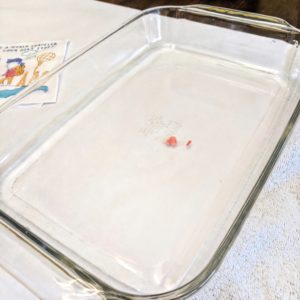
*Tip: the less water, the faster they will dry. Just remember you want the light color light enough
4. Stir the paint in (with a stick or your hand works great) so there are no lumps.

*Tip: if you tilt the pan you can check the bottom for globs of paint
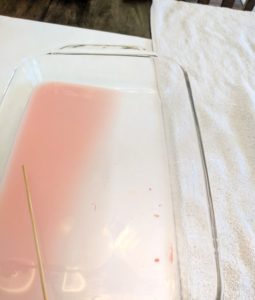
5. Take one of the separated piles of coffee filters and place them in the pan. Make sure they are fully saturated.

*Tip: separate the one pile into about 1/8-1/16 inch piles before you put them in so you knew they’re fully soaked
6. Ring or press out the excess liquid and lay the filters out to try.

*Tip: separating each filter to try will help it dry quicker, however I noticed they hold more color if they dry before separation
7. Repeat steps 3-6 with additional shades of your color, adding in more paint to the water.
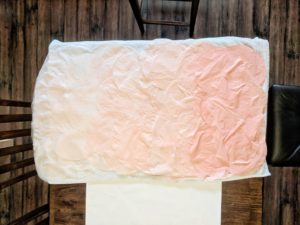
8. Let all coffee filters dry completely, spread them out and flip them over to help dry faster. Mine took around 4-6 hours to dry.
Phase 2:
1. After all coffee filters have completely dried, use a pen/pencil/stick to twist the center of the filters, then bend and flatten the twisted end.
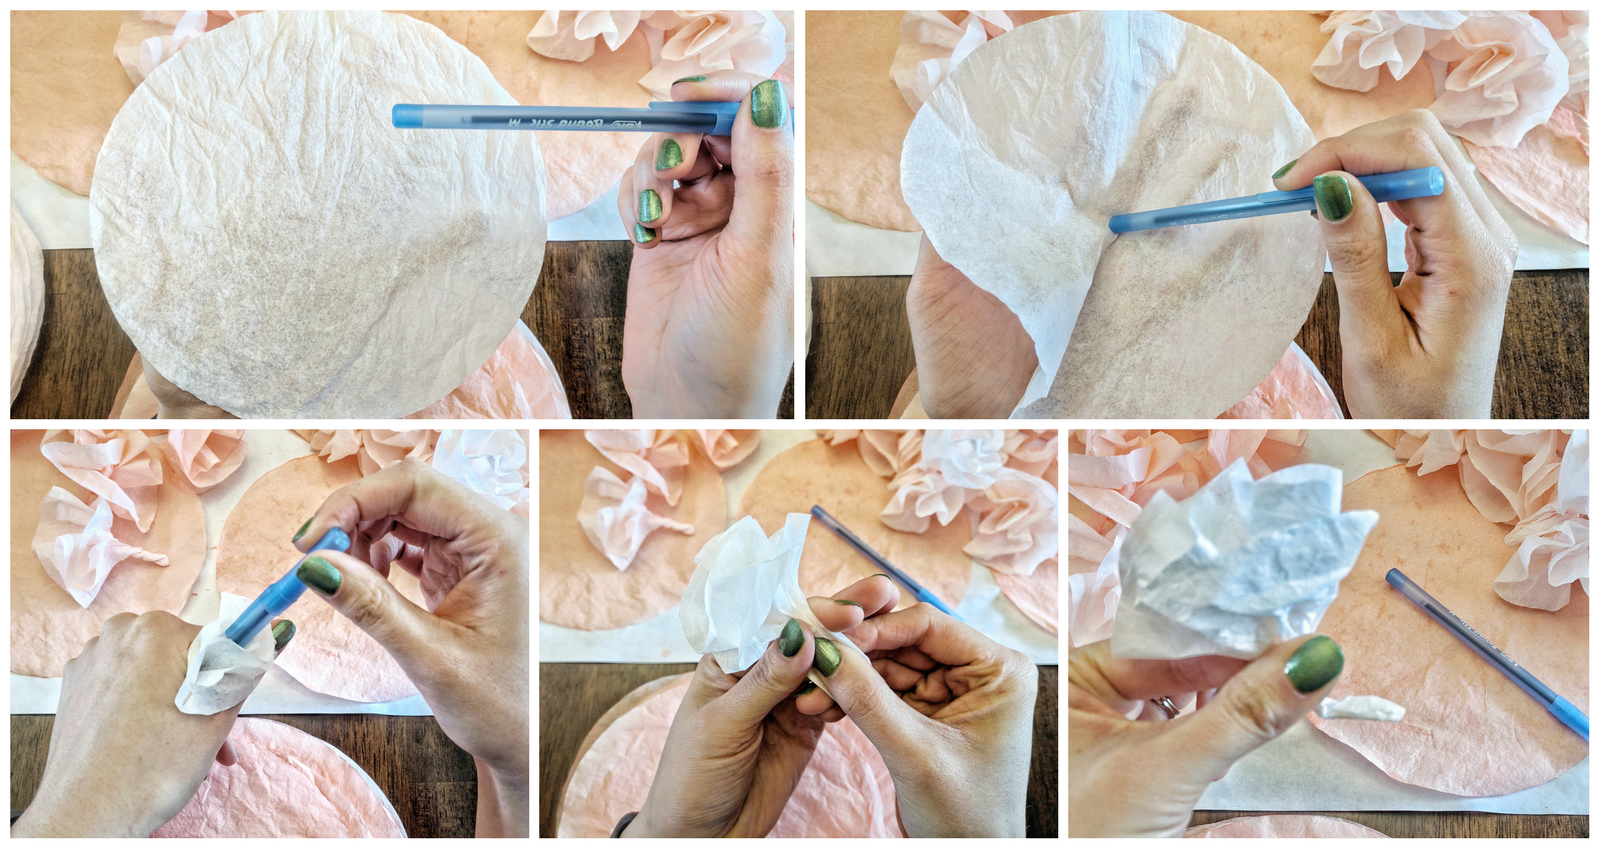
*Tip: make sure you leave enough of the raw edge to give fluff
2. Organize all of your fluffy filters into piles of matching color, even though I only dipped them into 3 different shades, I think I ended up with 5 different piles.
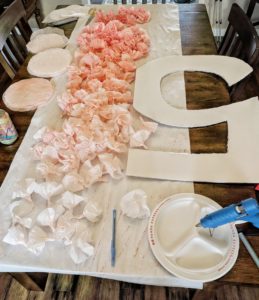
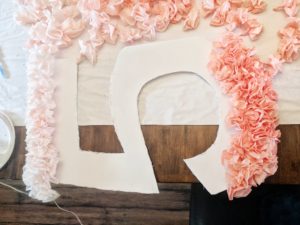
3. Start at each end of the number and work your way into the middle, this is important to achieve an even ombre effect.
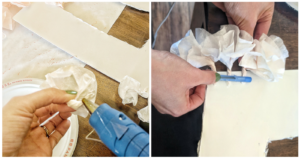
4. Put a drop of hot glue on the flattened end of the filters and use the pen to press it into the board. PLEASE BE CAREFUL, I know we all know better but I burned myself really bad during this project so please use the pen and stay aware!
5. If you end up with “bald” or “flat” areas, just use a dab of glue to hold the fluff in place.
You’re all done!